Creative energy spreads.

102_Cafe_smoke©JonTremlett2014

With all of the making happening in the back garden and in the makeshift workshop that is the garden shed, it would have been so easy just to forget about the artworks for a few days. But these things never sleep, whatever’s on the drawing table in the studio lets you know it’s there every time you walk in the room. The hope was that some making activity would bring a fresh spur to the drawing work and so it proved. By splitting my creative time in this way, both fed off the energy that was now available seeing as I wasn’t going to be working for a few days.

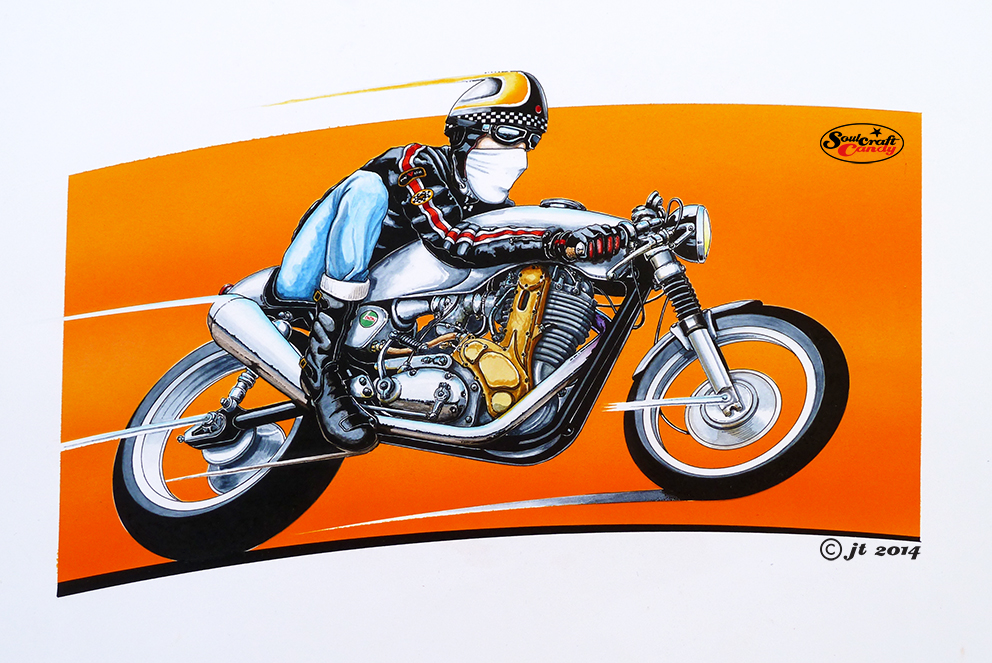
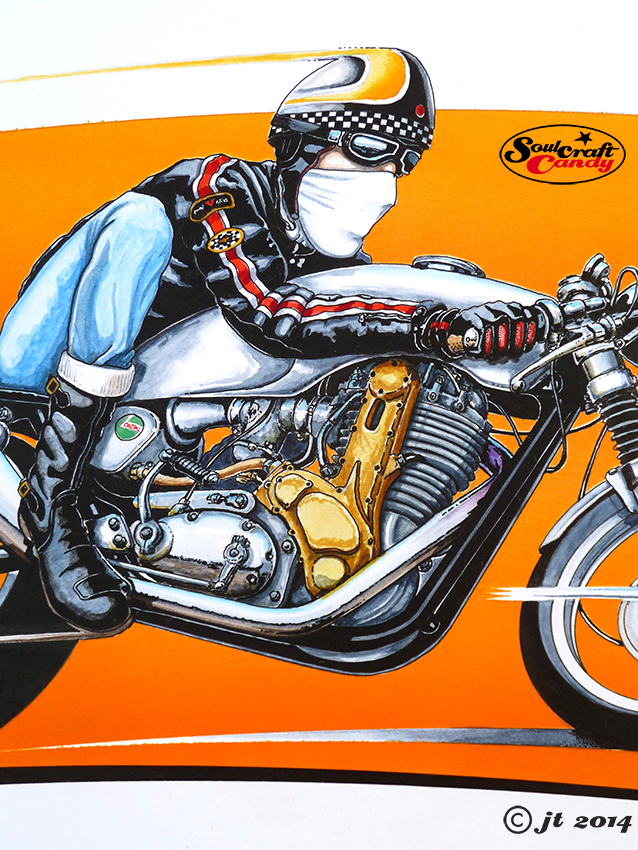
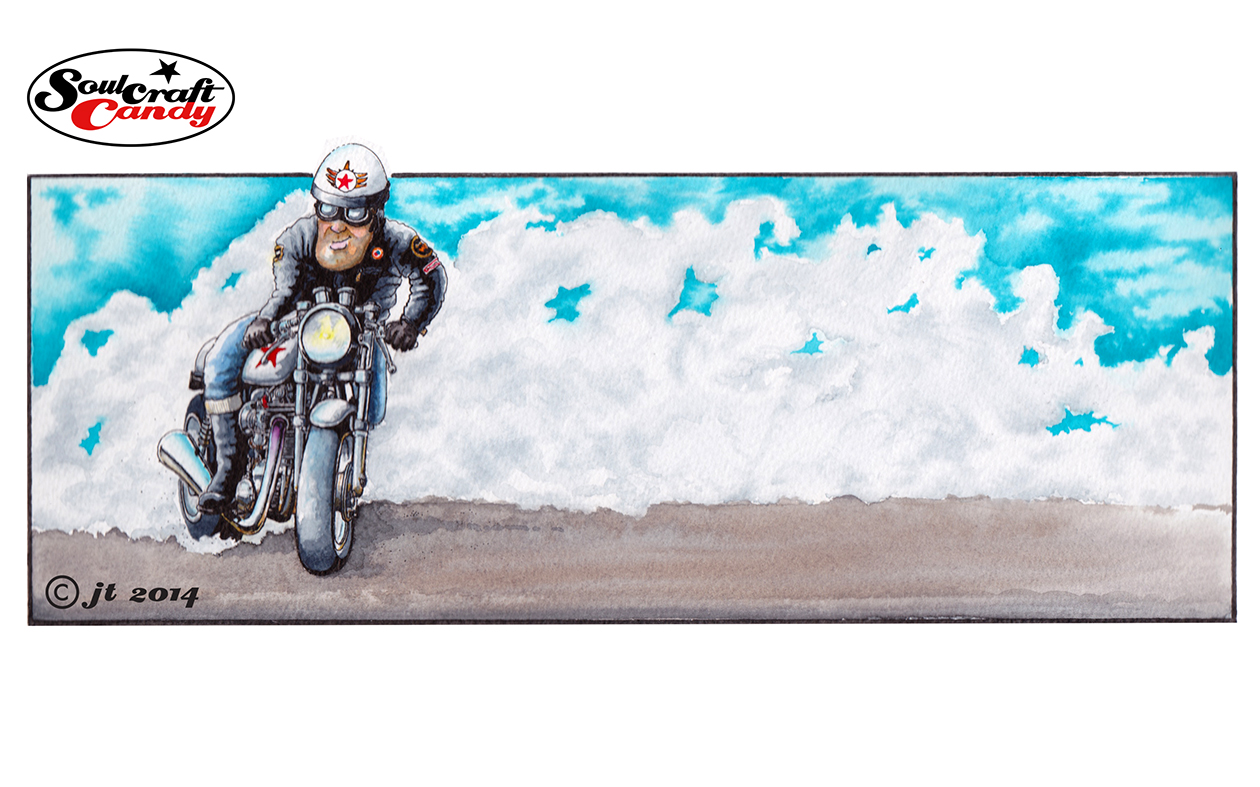
This picture above was started a while back but was taking ages to finish. Procrastination had set in as a reaction to my being a little daunted by pushing it along. I wanted to see how I’d get on with some heavier textured water colour paper, and whether I could hold the detail given the rougher surface. It was also a challenge to figure out the best way of rendering all of that smoke, something I’d not had much success at in the past.

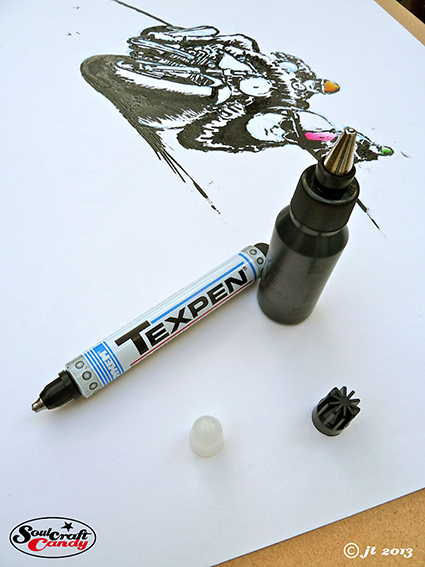
In the end the detail concerns were pretty unfounded, the technical pen worked out ok on the paper once it was fully dry, though I would say that it does tend to get a bit “hairy” if you labour the pen too much. The smoke bit on the other hand was a tad more tricky. I had kind of promised myself that I’d have a go at being a bit more free with my brush work a while ago and saw this as a perfect way to get some practice. Smoke being of a very “wafty” nature I thought it would suit a more loose approach. What I didn’t reckon on was actually how hard it was to do. I take my hat off to all those whose water colour style is more conventional than my own, the impressionistic feel they give to brush work is a hard won prize indeed. Initially I was far too deliberate, the cloudiness needed just wasn’t there and no amount of blending the marks I’d made seemed to work. In the end I plumped for just loading up a No.4 brush and smearing, can’t think of a better word for it, wash all over the required area and trying to blur it all with more water whilst still wet. It kind of worked but I failed to achieve any consistency across the whole area. Not wanting to overdo it I left it at that, though I will be having another few tries at getting the looseness I’m after on some other pieces which are coming along behind this one.

It’s bright, I’m happy and it’s shipped.

The Thumper © Jon Tremlett for Soulcraftcandy 2014

Those little thieves, that like to pinch bits of your time when you’re not looking are still hovering around the studio, turning hours into minutes. I’m experimenting with various strategies to combat their fiddling, the most effective so far being to shut down the email at certain times and turn the phone to silent mode. It’s working but it’s not a long term solution.


Despite these distractions I have finally managed to finish the picture featured in the last post, and it would be fair to say that I’m pretty pleased with how it turned out. For a long time I wondered if the speed streaks would work, and was tempted on many an occasion to just leave them out. I’m glad I didn’t, they add a bit of direction and dynamism to the image which wouldn’t be there otherwise. It’s a detail I need to work on to get absolutely right but for a first attempt it’s none too shabby. I’m also very happy with the balance, between cartoon and reality, I have managed to strike. It is such an overwhelming temptation sometimes to get utterly carried away in the painting and start working too much realism into the colouring.


As for that background, well it just needed something massive and punchy to lift it off the paper and grab the eyeballs. I did it in Dr. Martin’s liquid water colour with an airbrush, using two variations on orange. First a layer of orange and then some tangerine layed over the top. I always find using the airbrush completely nerve wracking. Laying down the masking film is enough to give me the jitters on its own, and then cutting out the mask with a scalpel and removing the pieces turns me into a shaking wreck! Spraying seems to be the easy bit. The ink takes ages to dry properly and in the end I had to remove it from the surface of the film with a carefully placed piece of blotting paper and a roller. Only then is it safe to remove the mask, very, very slowly.

Detail of the Thumper by © Jon Tremlett 2014

As I mentioned before, I think I’ll leave this level of detail painting for a while and have a go at being a bit looser with things. I’ve been sketching out some other pieces in good old fashioned pencil this week and I want to take one of those onto a suitable paper and play with washes. I’m hoping it will be a bit experimental and free up the brain a bit, loosen the creative muscle as it were. I’ll let you know how I get on.


Celebrate unexpected outcomes.

The finished thing, blobs and all.

The finished thing, blobs and all.

Those of you who’ve followed the blog for some time will know that I have a thing for a ball point pen. I have my favourites obviously, just like painters tend to have a favourite brush or colour, but generally speaking it doesn’t really matter what brand it is or how cheap. In fact some of the best for drawing are amongst the cheapest you can buy. Although I tend to use black mainly, there’s nothing wrong with other colours, they bring a certain something to an image. But I digress.

This drawing you see here must be one of the messiest I have done for quite some time. I have no problem with this, in fact it was a joy to make, really, and it was made using a ball point pen. Well, I’ll call it a pen for now, but in fact it’s more of a marker and actually I used two different types to make the picture. You may remember some time ago I posted that I’d had a sketch of one of the original Cafe Racer drawings printed out at life size. The resultant print, taken from a scan of a loose biro sketch, revealed all of the feathering and broken line work that were not really visible on the original. It looked great, one could really see where the pen had travelled and what marks it had left behind. On the back of this experiment I wanted to investigate whether I could create a giant ball point pen to try and replicate this character and do some massive drawings at life size. Scaling things up I needed to find a pen with a ball of roughly 3.0mm in diameter. My searches unfortunately proved that no such thing existed but something very similar did. What I found were ball point paint markers which are used in the construction and engineering fields for marking parts and assemblies. Finding a convenient supplier in Royston, Hertfordshire I duly bought a couple to try. In black.

Detail showing paint build up.

Detail showing paint build up.

Both of the markers are shown in the bottom picture. The first, a thing called a Texpen made by Dykem, is a fairly conventional looking marker and quite easy to hold and manipulate. The other is a more heavy duty one from a company called Suremark. As you can see it’s essentially a bottle of paint with a ball point cap screwed onto the top. Lasts longer but not so easy to handle, and is refillable.

Before venturing into huge scale and wrecking large pieces of paper I thought I’d try something smaller to start with, to see if my suspicions were correct or not. The picture you see here is on a piece of A2 cartridge paper. I roughed out a sketch in blue biro first and then hit it with the paint markers. After half an hour of struggling I had to get up and have a cup of tea whilst I coped with my disappointment. After sweet tea and swearing I sat down and tried again, and this time really enjoyed myself.

These things are not like ball point pens at all, no sir. Firstly the paint is thick, gooey and doesn’t really flow. Secondly, the balls in the nibs are spring loaded so you have to press down to release the paint, so describing a line in a sweep is virtually impossible. Once I’d got my head around mark making though, I found I could squidge and blob my way to creating an image without too much trouble, the key bit was realising that detail and line consistency were never going to come to this party. It was a great lesson in learning how to approach getting the best out of an unfamiliar tool. The paint takes a short while to dry so avoiding putting your drawing hand in it is quite difficult, hence various blobs scattered about. The bottle option proved best for filling in solid areas while the pen option was easier to “draw” with. You can see from the detail shot, I hope, that paint tends to build up quite a bit on the blackest areas.

Paint_sketch3©JonTremlett2013

I stopped at a point beyond which I thought I might spoil it, and let it dry. When I returned I wanted to give it something extra so grabbed some cheap coloured biros I have here and put some colour on the riders helmets to lift the whole thing a little.


I hope you like it. This isn’t the end of my experiments with these markers, there are different papers to try in the search for different results and different types of drawings to try too. All very exciting, I’ll let you know how I get on.