Starting the Shotgun commission.

Shotgun_sk_1©JonTremlett2014

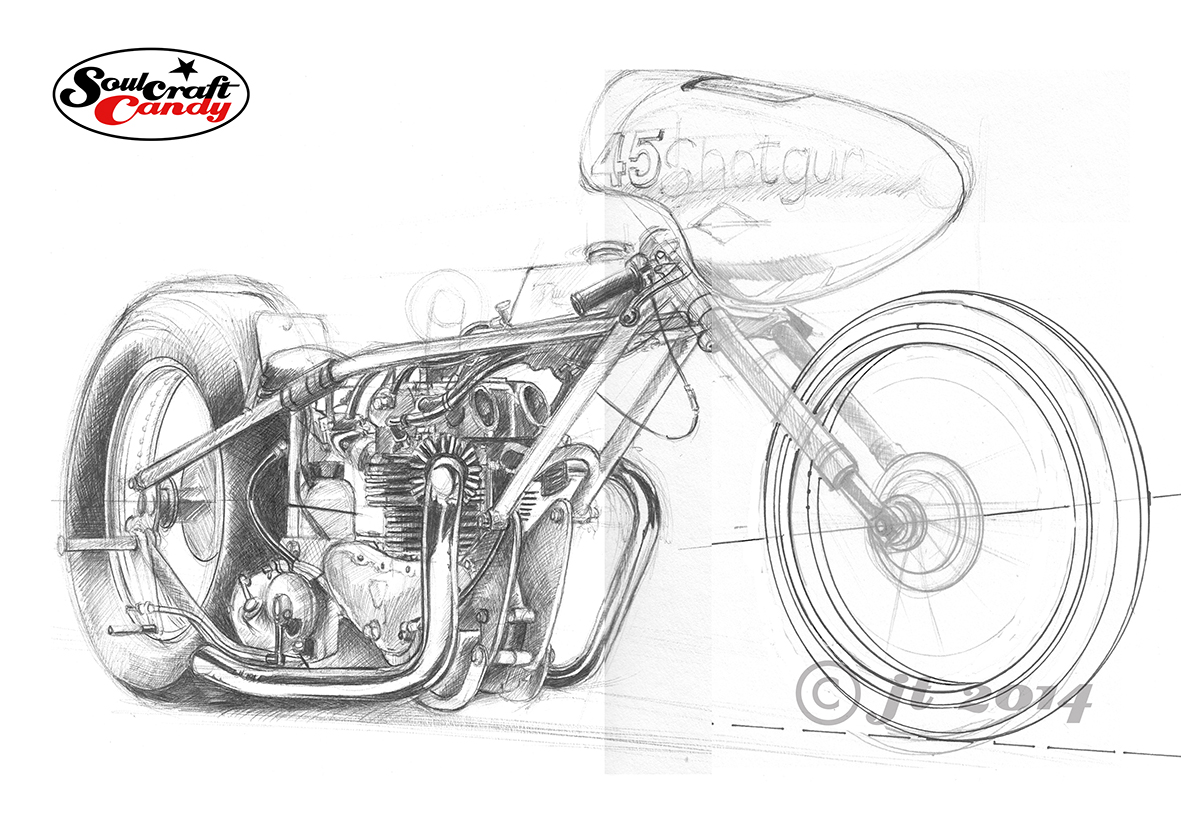
A couple of posts ago I put up some colour photographs of a lovely red vintage drag bike called Shotgun. I’ve been asked by its owner, Nik Fisk, to create a picture of the bike for him. It’s taken a couple of weeks to get going but here is the first layout sketch done in preparation for the final picture. It’s done in black biro on heavy weight lining paper. When I was taking the photographs we discussed in some detail the view we wanted to achieve in the finished piece, something that hinted at the length of the bike, but also showed off the overall shape well and the fantastic old Triumph engine that sits at the heart of the beast. Having the right hand exhaust pipe nearly vertical we reckoned this would allow the curvature of the left pipe to be a feature and would also create a strong central element to the picture.

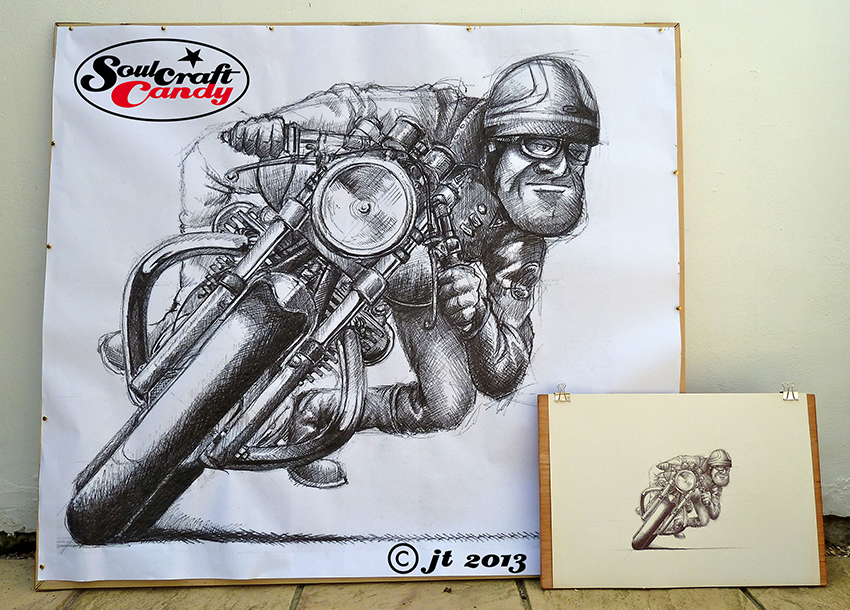
It would be far simpler, and probably much easier, to sketch directly over a printed photograph, or do it digitally using something like Corel Painter, but that would defeat the object of this exercise. In asking me to create a picture for him, Nik is looking for something created in a particular style, which we reckoned would be called something like “factual caricature”. This is not about creating a facsimile image, more about giving the image a degree of character which a photograph just can’t do. So with a picture up on the screen as reference I like to work freehand directly onto the paper, working out the relative positions and proportions of things as I go. It’s a rather organic process, one which not only makes you look carefully at the subject, but also embeds knowledge about that subject into your minds eye as you go. I find this part of the process invaluable and it enables me to make the slight scale and proportional changes which bring the caricature into the image. It allows me to do things like make the engine slightly bigger and bulk up the exhaust pipes to increase the sense of power of the unit for example. I always like to increase the fatness of tyres on bike pictures, in makes them look more planted in my view, but at the same time I need to make sure that the ellipses that outline the wheels are as correct as possible. This sketch shows a revised front wheel from the original sketch, done with some ellipse guides at a smaller size (my templates only go so big), rescanned and photoshopped into place. So when I’m freehanding the outline drawing for the final picture I’ve got some decent guidelines to work to.

The drawing is about 380mm from the back of the rear wheel to the tip of the front and sits very nicely on an A2 sheet, so a really good size which will allow lots of details to be shown. The next step is to check over this one, make some notes for adjustments and then use the light box to start the process of getting it onto the Bristol Board I’ll use for the final painting. This is going to be a lot of fun and I’ll be posting progress reports as things take shape.

Advertisement

Havin’ it large.

Life size print of a cartoon by Jon Tremlett at soulcraftcandy.

The above phrase, regularly used and a feature of the colloquial landscape that is modern english, often refers to a bout of over indulgent and often excessive behaviour, invariably fueled by alcohol.


Despite there being little alcohol consumed at the time this idea was born, the phrase seems most apposite in describing the birth of the above creation. For quite a while now, the suggestion that the drawings should perhaps take on a larger scale has been hovering about in the back of my mind but, achieving this jump up in size presented lots of challenges that would need to be overcome. Aside from wondering where in the house one could create a big enough space to do it, the mechanics of transferring a basic layout onto large boards or sheets is something I’ve not yet figured out. I know that simply drawing straight onto large format sheets is tricky, ones perceptions of perspective and proportion are distorted, and being so close to the image as you make it means you can’t “see” all of it, so you have to keep standing back to check on your progress. There are lots of tools out there to help with these issues like projectors and setting up a copying grid, but the fact remains that it’s a daunting undertaking if you’re not practiced at it. I really wanted to see what one would look like blown up, before embarking on a creative exercise of this size.

Life size print of a cartoon by Jon Tremlett at soulcraftcandy.

Fortunately for me, a good friend who runs a small architectural office offered the use of his A0 plotter to run something out as an experiment. I knew that printing out a massive version of one of the finished biro drawings would rapidly consume his stock of black printing cartridges, not a good idea seeing as this was a generous offer already, so elected to use one of the early sketches which is much lighter in tone. The scale for the print was based on the size of the front wheel which would be approximately life size. There was no way it was going to fit on a single piece of paper either, so I split the picture in two with a bit of an overlap so it could be trimmed and glued together afterwards. The sketch was re-scanned at 1200 dpi to avoid any pixelation when blowing it up, resized across two sheets of A0 light weight plotter paper and converted into a pdf file to keep the file size down a bit, we didn’t want to be sat there for hours while the plotter got on with the job.


Back at base the sheets were trimmed on the kitchen table and the two edges stitched together with spray glue, before being pinned to a rough frame made from some scrap lengths of baton found in the shed. Choosing to do this on a really hot day at the start of a very rare heatwave meant the exercise was a little fraught and the subsequent union a little wrinkly, but it looks fine for what I wanted it to achieve. I took a couple of photos for the blog post with one of my crash helmets in the shot and the original sketch to give you an idea of the size of this thing.

Detail of cartoon by Jon Tremlett at soulcraftcandy.

There are some interesting things that spring to mind when I look at it. The jump in scale really shows up the distortion that occurs in the cartoon process, for example, although the riders body is about right, his head is really quite huge. The original sketch was done in biro onto non acid free lining paper which has a really gritty surface, and the way the line breaks up is very prominent in the blown up version and gives the whole thing a lovely looseness. Take a look at the detail shot to see what I mean.


So the question now is, what am I going to do next? I think it splits into two routes. The first one is to find a printing method, onto paper, canvas or vinyl, which will enable me to get one of the finished drawings done at this size. I can see them making great banners, or even applied to the sides of a vehicle in vinyl, though persuading anyone to take them may be harder than I imagine, but it’s worth thinking about. The second is to start to think seriously about how I would create a drawing at this scale, a journey probably riddled with experimentation with different media and tools which could be a lot of fun. Part of that journey has already started with the idea, hatched at the local coffee shop with my good friend Ben as usual, to investigate making a drawing instrument which creates the quality of line shown in the big print. And that is as exciting as actually doing the drawing itself, so I’ll keep you all posted on my travels in the world of large format printing and whether I can figure out how to construct the worlds biggest biro pen.


The 3D Pantograph Club, Part 1- Ed’s Machine.

Ed Barton Pantograph on Soulcraftcandy.

Ed and his 3D Scaling Pantograph.

It is an inescapable truth of freelance working for creative companies that you are rarely in a position to show or talk about the work you are engaged in, or have just completed. Issues of client confidentiality, and the fact that much of the work is usually a long way from entering the public domain mean you can’t show anyone what you’ve been making for quite a long time after the event. Hence the lack of “making” content on the blog for a long while.

Prompted by a recent visit to the studio of a sculptor friend, this is about to change however, as it has nudged me into digging a project out of the archive in readiness to post about it.

I first met Ed up at the Ace Cafe, a favoured north London haunt of motorcyclists, where I got talking to him about his fabulous Moto Guzzi. When we discovered what each of us did for a living, and dug a little deeper, it became clear we had more in common that purely an appreciation of personally customised motorbikes. Ed mentioned that he was interested in building a 3D Pantograph, and I had completed the construction of such a device not that long previously. Needless to say he was interested in understanding what my project had revealed regarding these rather esoteric bits of equipment and a good many knowledge sharing conversations ensued.

Before going any further though, it is probably best to try explain what a 3D pantograph is exactly. I will try and be brief. A pantograph is essentially a scaling machine that allows the operator to enlarge, and in some cases reduce, the size of an image or object. They are more commonly found in the 2-dimensional realm where they are used to trace lettering or pictures for engraving and such like. Being utterly analogue in their function they have now been generally superseded in most applications by digital technology, so they are rare things to come across. Working from a fixed pivot point, two pointers, connected by a series of pivoting arms allow the operator to follow an image with one pointer whilst the other creates a replica of that image on another surface at a greater scale, like 2:1 say. In 3 dimensions the principle is the same though in this case the first pointer follows the surface of an object, positioned on a turntable, while the second allows the operator to create a scaled up or reduced version of that point in space on a second turntable nearby. If this doesn’t make sense, then I hope that seeing some images and a short film will help to make things clearer.

The pantograph pivot and counterweight assembly.

The pantograph pivot and counterweight assembly.

Last weeks visit to Ed’s studio in Camberwell, South London was to finally see the pantograph he had built. It was impressive. Through our earlier discussions we had figured out that these machines could take many forms, it is the core geometry which provides the link between different designs. So not surprisingly Ed’s machine is a very different looking beast to the one I built, and amply demonstrates how a different “brief”, ie what you want to make with it,  effects the final design and layout of the machine. Here’s a link to the studio website where you will find a great stop frame film of the guys building their machine and then using it to cut complex forms out of large blocks of expanded polystyrene with a hot wire, and other images. When I visited the studio last week the hot wire had been replaced by a high speed cutting head which the guys had used to carve even more complex forms from similar blocks. You will also see that the machine consists of the two main elements required for the pantograph to work, a pivoting arm that holds the “pointers” and a pair of connected turntables supporting the final piece and the model from which it is being traced.

Ed Barton pantograph at Soulcraftcandy

The business end, a high speed cutting head.

In the next post I’ll reveal the details of the machine I put together for an artist, and expand a bit more on how these things work.